
How Much Mulch Do I Need for My Beds?
Two to three inches. Not more. Here is the math for how many yards that takes, and what happens when beds get over-mulched year after year.
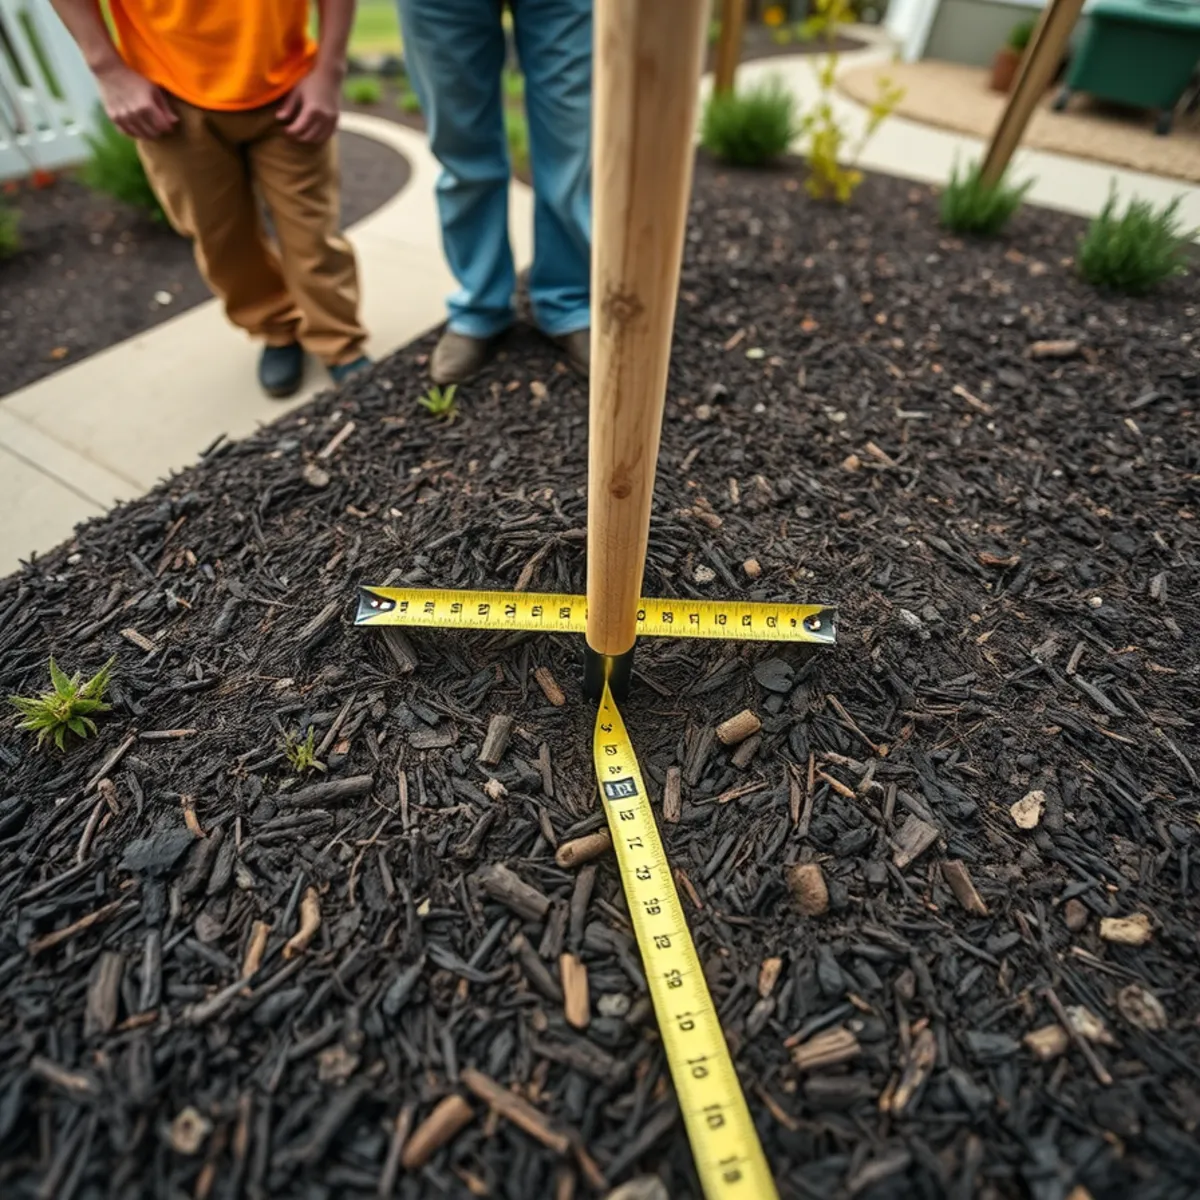
Two questions come up every April: how many yards do I need, and how deep should it go. The second one is more important, and most properties get it wrong in the same direction.
The depth: two to three inches, total
That is total depth including whatever is already in the bed — not two to three fresh inches added on top of last year's layer.
In that range, mulch does everything you want it to do. It blocks the light weed seeds need to germinate. It slows evaporation so beds hold moisture through a dry July. It moderates soil temperature so roots do not cook in August or heave in February. And as it breaks down it adds organic matter to soil that generally needs it.
Past four inches it works against you
- Water sheds off the surface instead of soaking in — the bed gets drier, not wetter
- Lower layers go anaerobic and stop breaking down properly
- Roots grow up into the mulch layer chasing moisture, leaving them exposed the moment things dry out
- Shallow-rooted plants suffer first — azaleas and rhododendrons, which are everywhere in this region
- The bed becomes a habitat for rodents nesting against the foundation
So some years the right answer is a full application and some years it is a rake-and-refresh. If your existing layer is still holding at three inches, loosen it, top-dress the thin spots, and put the money elsewhere.
The math
One cubic yard is 27 cubic feet. Spread at a given depth, it covers:
| Depth | Coverage per cubic yard |
|---|---|
| 1 inch | ~324 sq ft |
| 2 inches | ~162 sq ft |
| 3 inches | ~108 sq ft |
| 4 inches | ~81 sq ft |
So: measure your bed square footage, divide by 162 for a two-inch application or 108 for three inches. A property with 800 square feet of beds needs about five yards at two inches, or seven and a half at three.
Bulk delivery is far cheaper than bagged. A cubic yard is roughly thirteen and a half of the two-cubic-foot bags sold at big box stores, and the price difference is substantial — plus you are not disposing of thirteen plastic bags.
The mulch volcano
Mulch piled up against a tree trunk is the most damaging common landscaping practice in America, and it is everywhere.
Bark is not root tissue. It is designed to be exposed to air. Buried under mulch, it stays constantly damp, which invites rot and gives insects and rodents cover to chew through it. Worse, the tree responds to moisture around the trunk by sending roots into the mulch — roots that then circle the trunk and eventually girdle it. Trees killed this way often die eight or ten years later, long after anyone connects it to the mulch.
The correct approach: mulch pulled back so the root flare — the point where the trunk widens into roots at ground level — is visible. Doughnut, not volcano. Same principle for shrub stems and for mulch against house siding.
Which mulch to use here
| Type | Best for | Notes |
|---|---|---|
| Double-ground hardwood | General beds, slopes | Knits together and stays put; our default |
| Dyed black or brown | Formal beds, high contrast | Color holds longer; dye is generally iron oxide or carbon based |
| Pine bark | Acid-loving plants | Rhododendron, azalea, blueberry, mountain laurel |
| Pine needles | Acid-loving plants, slopes | Free if you have pines; excellent where it mats |
| Compost | Vegetable and perennial beds | Feeds soil but suppresses weeds poorly on its own |
| Stone | Drainage areas, xeric plantings | Adds no organic matter; heats up considerably in sun |
Double-ground hardwood is what we install by default across Whitman and the surrounding towns. The fibers interlock so it resists washing off slopes, it breaks down into genuinely useful organic matter, and it looks right against New England housing stock.
Timing
Early spring, before the heavy April rains. Beds are still workable, weed seed has not germinated, and the mulch is in place before the growing season begins. Late spring works — it just means the pre-emergent window has partly closed and you are covering weeds that already started.
It is also the natural companion to spring cleanup, since the beds are already cleared and edged. Bundling them saves a mobilization and generally costs less than two separate visits. That sequence is laid out in our spring cleanup checklist.
The prep that makes the difference
Mulch on a bed that was properly prepared looks completely different from the same mulch dumped over weeds. What matters:
- 1Pull weeds at the root, not just the tops — the same prep that goes into a spring or fall cleanup
- 2Cut a fresh spaded edge — a vertical cut with a shallow trench at the base
- 3Scuff and loosen last year's compacted layer so water moves through and new mulch knits in
- 4Apply pre-emergent to bare soil first if you want weed control that lasts into summer
- 5Spread evenly, feather thinner at the edge so it does not spill onto the lawn
- 6Pull it back off every trunk, stem, and stretch of siding
The spaded edge is the part people notice from the street and the part that takes the most time. It is why a professionally mulched bed reads differently than a DIY one, even with identical material.
Frequently Asked Questions
Measure your bed square footage and divide by 162 for a two-inch application, or by 108 for three inches. An 800-square-foot bed area needs roughly five yards at two inches.
Usually not — loosen it and add to it. Remove material when the accumulated layer exceeds four inches, when it has crusted hard enough that water runs off, or when it went sour from being stored anaerobically.
Mulch does not attract termites, but any consistently damp material against a foundation is a bad idea. Keep mulch pulled back from siding and sill plates and keep the depth down along the foundation line.
Want this handled for you?
We do this work across Whitman and the South Shore every week. Call (323) 606-0255 for a free on-site estimate — we will tell you honestly what your property needs.